Use Github to source control your Xcode project is really cool and rather convenient. Many of you may have tried to upload or link your current Xcode project to Github, but found it’s annoying because you always got some slight problems that stopped you from reaching there.
Here, i’d like to tell you a really simple way to quickly upload your current project, or a new project, to Github and start to source control it immediately.
Few things that should be prepared before start:
- A Github account
- Github app for Mac, download the latest version.
- A Xcode project that you’d like to push onto Github
Okay, now if you’re ready, let’s start.
Step 1, Create a new repository where you wanna push your project to.
Here i’ve create a new repo called MyXcodeProject
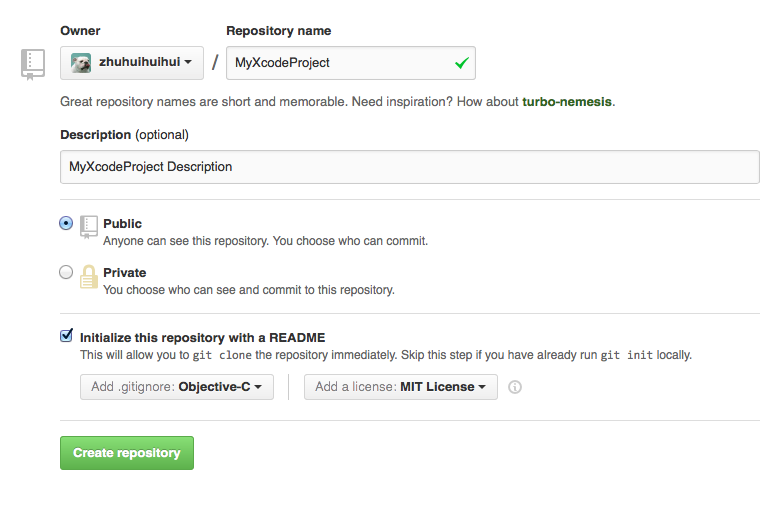
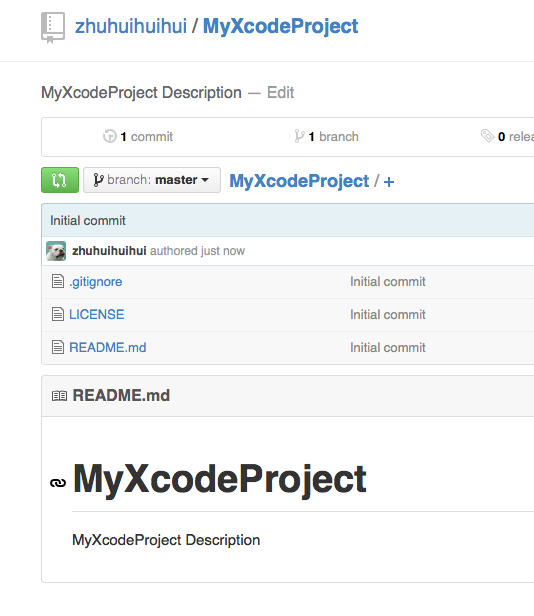
Once it has been successfully created, you shall see your new repo like this
Step 2, Open Github for Mac Client, find and download the project that you just create.
Open the Client, select File -> New Repository or simply press command + N, find the project that we just created under Clone tap.
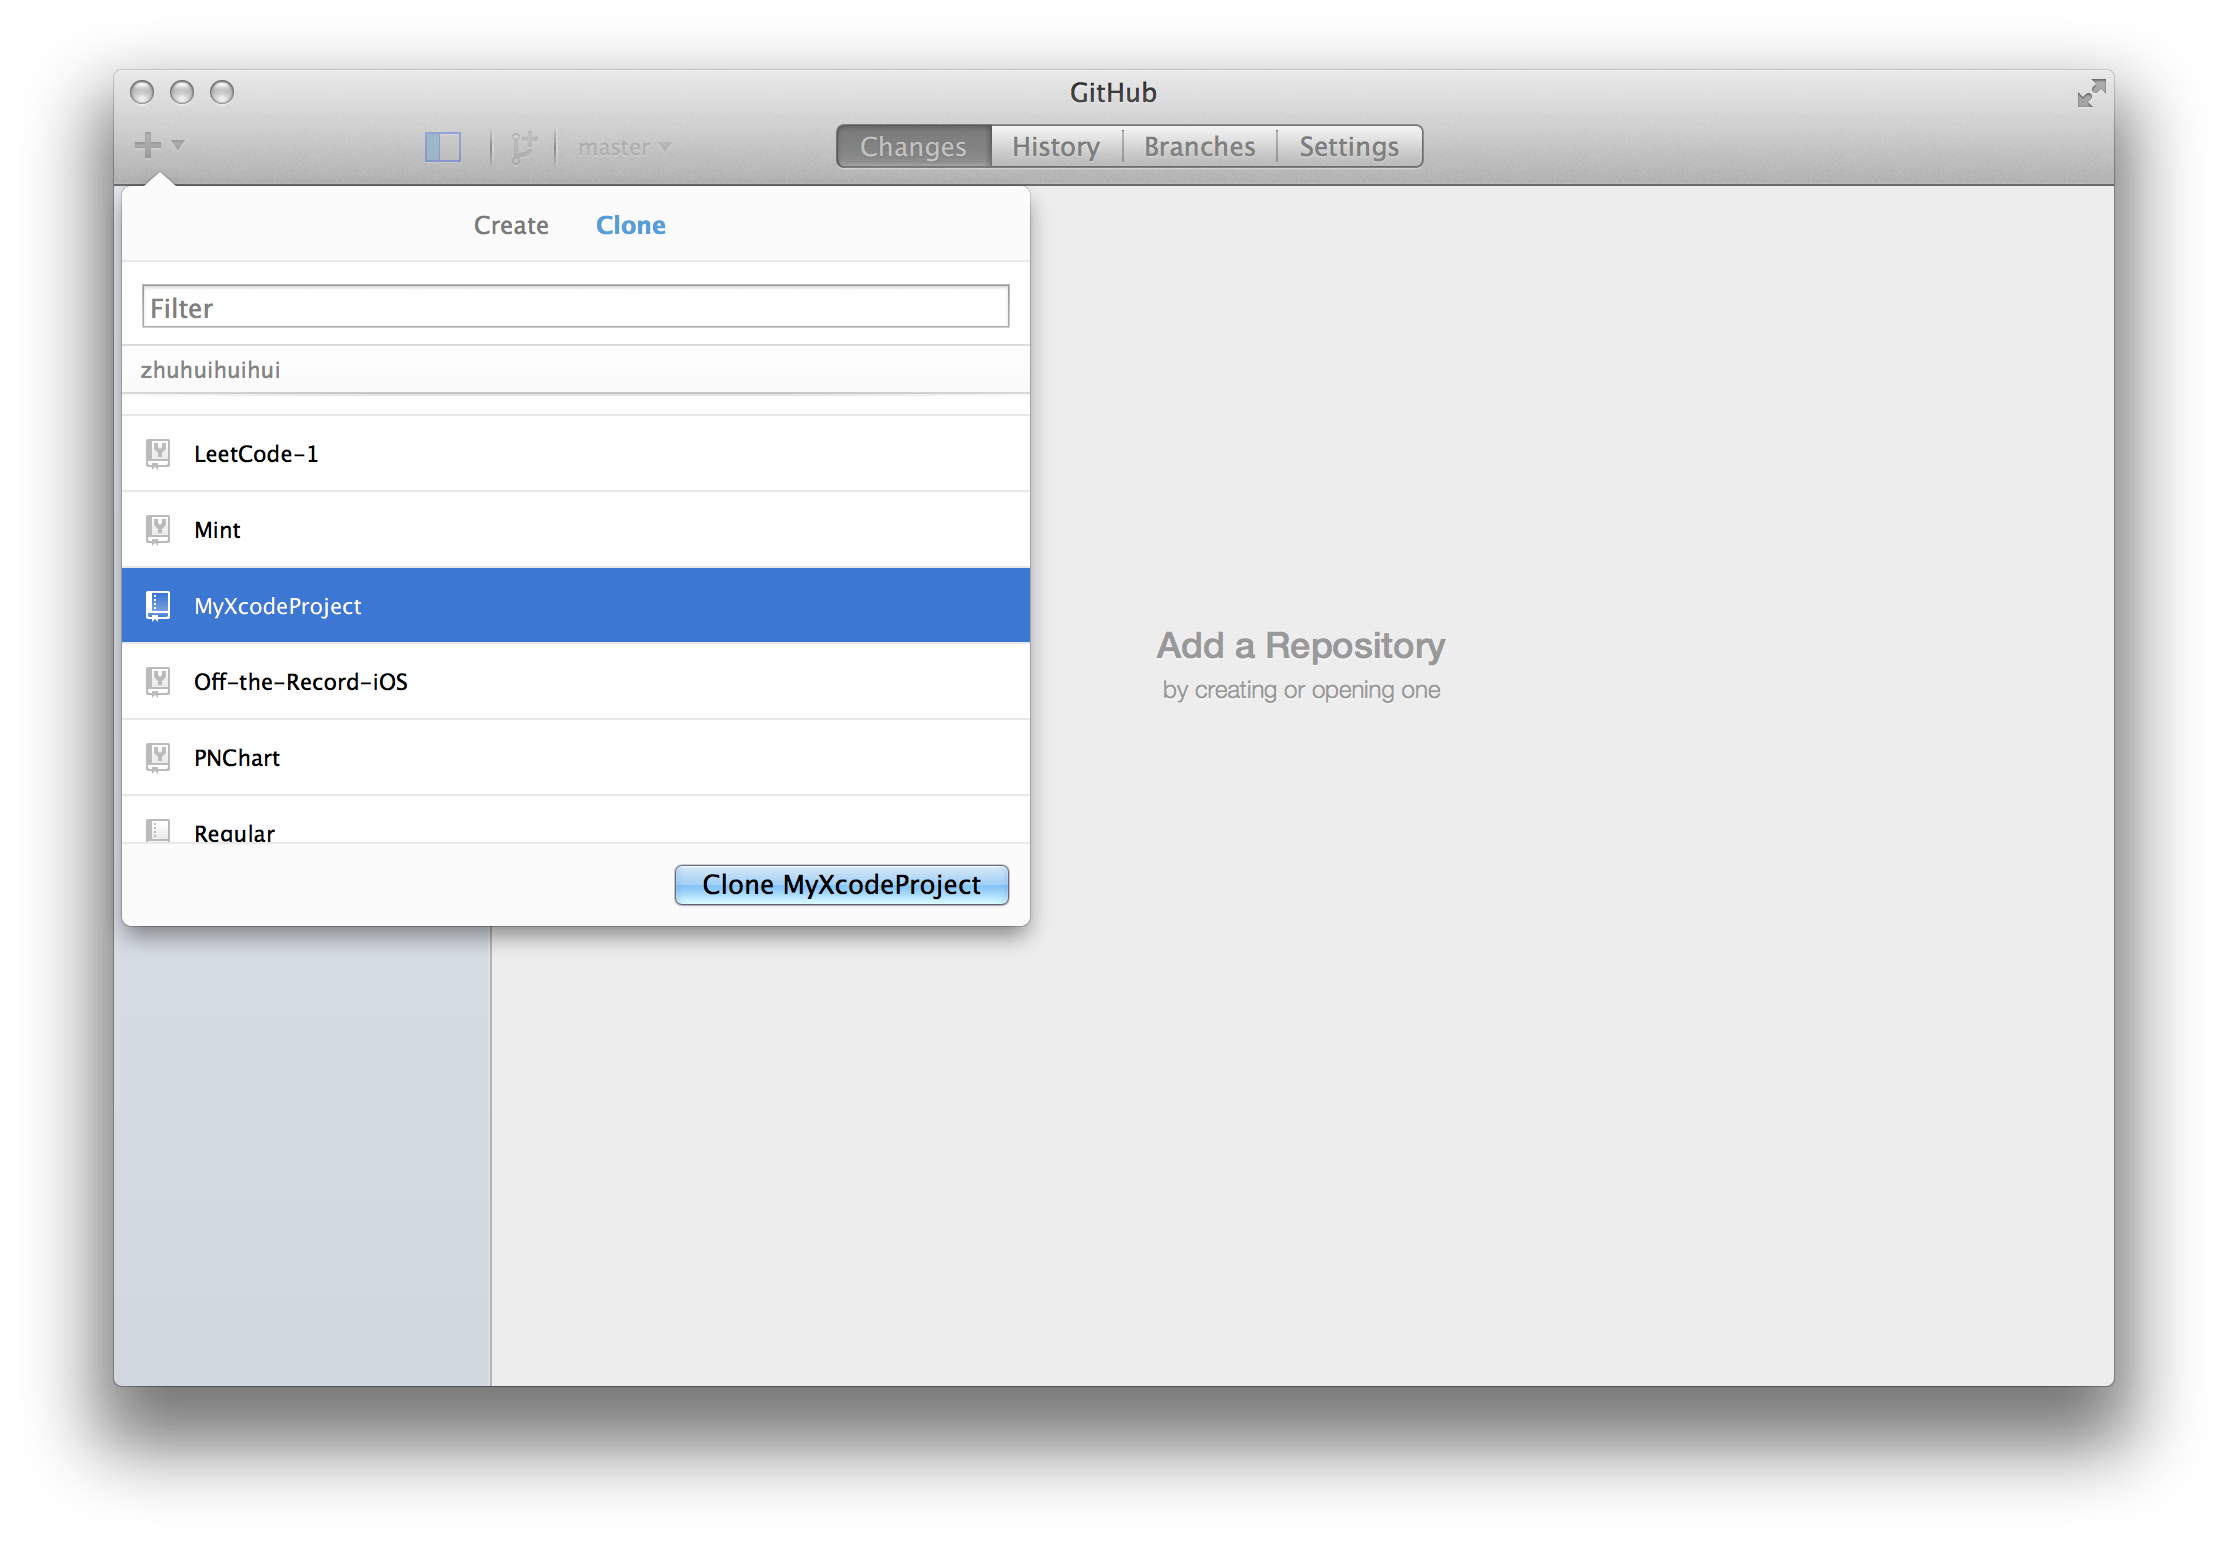
Press the Clone MyXcodeProject button, choose whatever directory that you want to put this project, /Desktop for example. Once it’s successfully cloned, you shall see something like this.
Step 3, Move your own project into the MyXcodeProject folder that you just cloned.
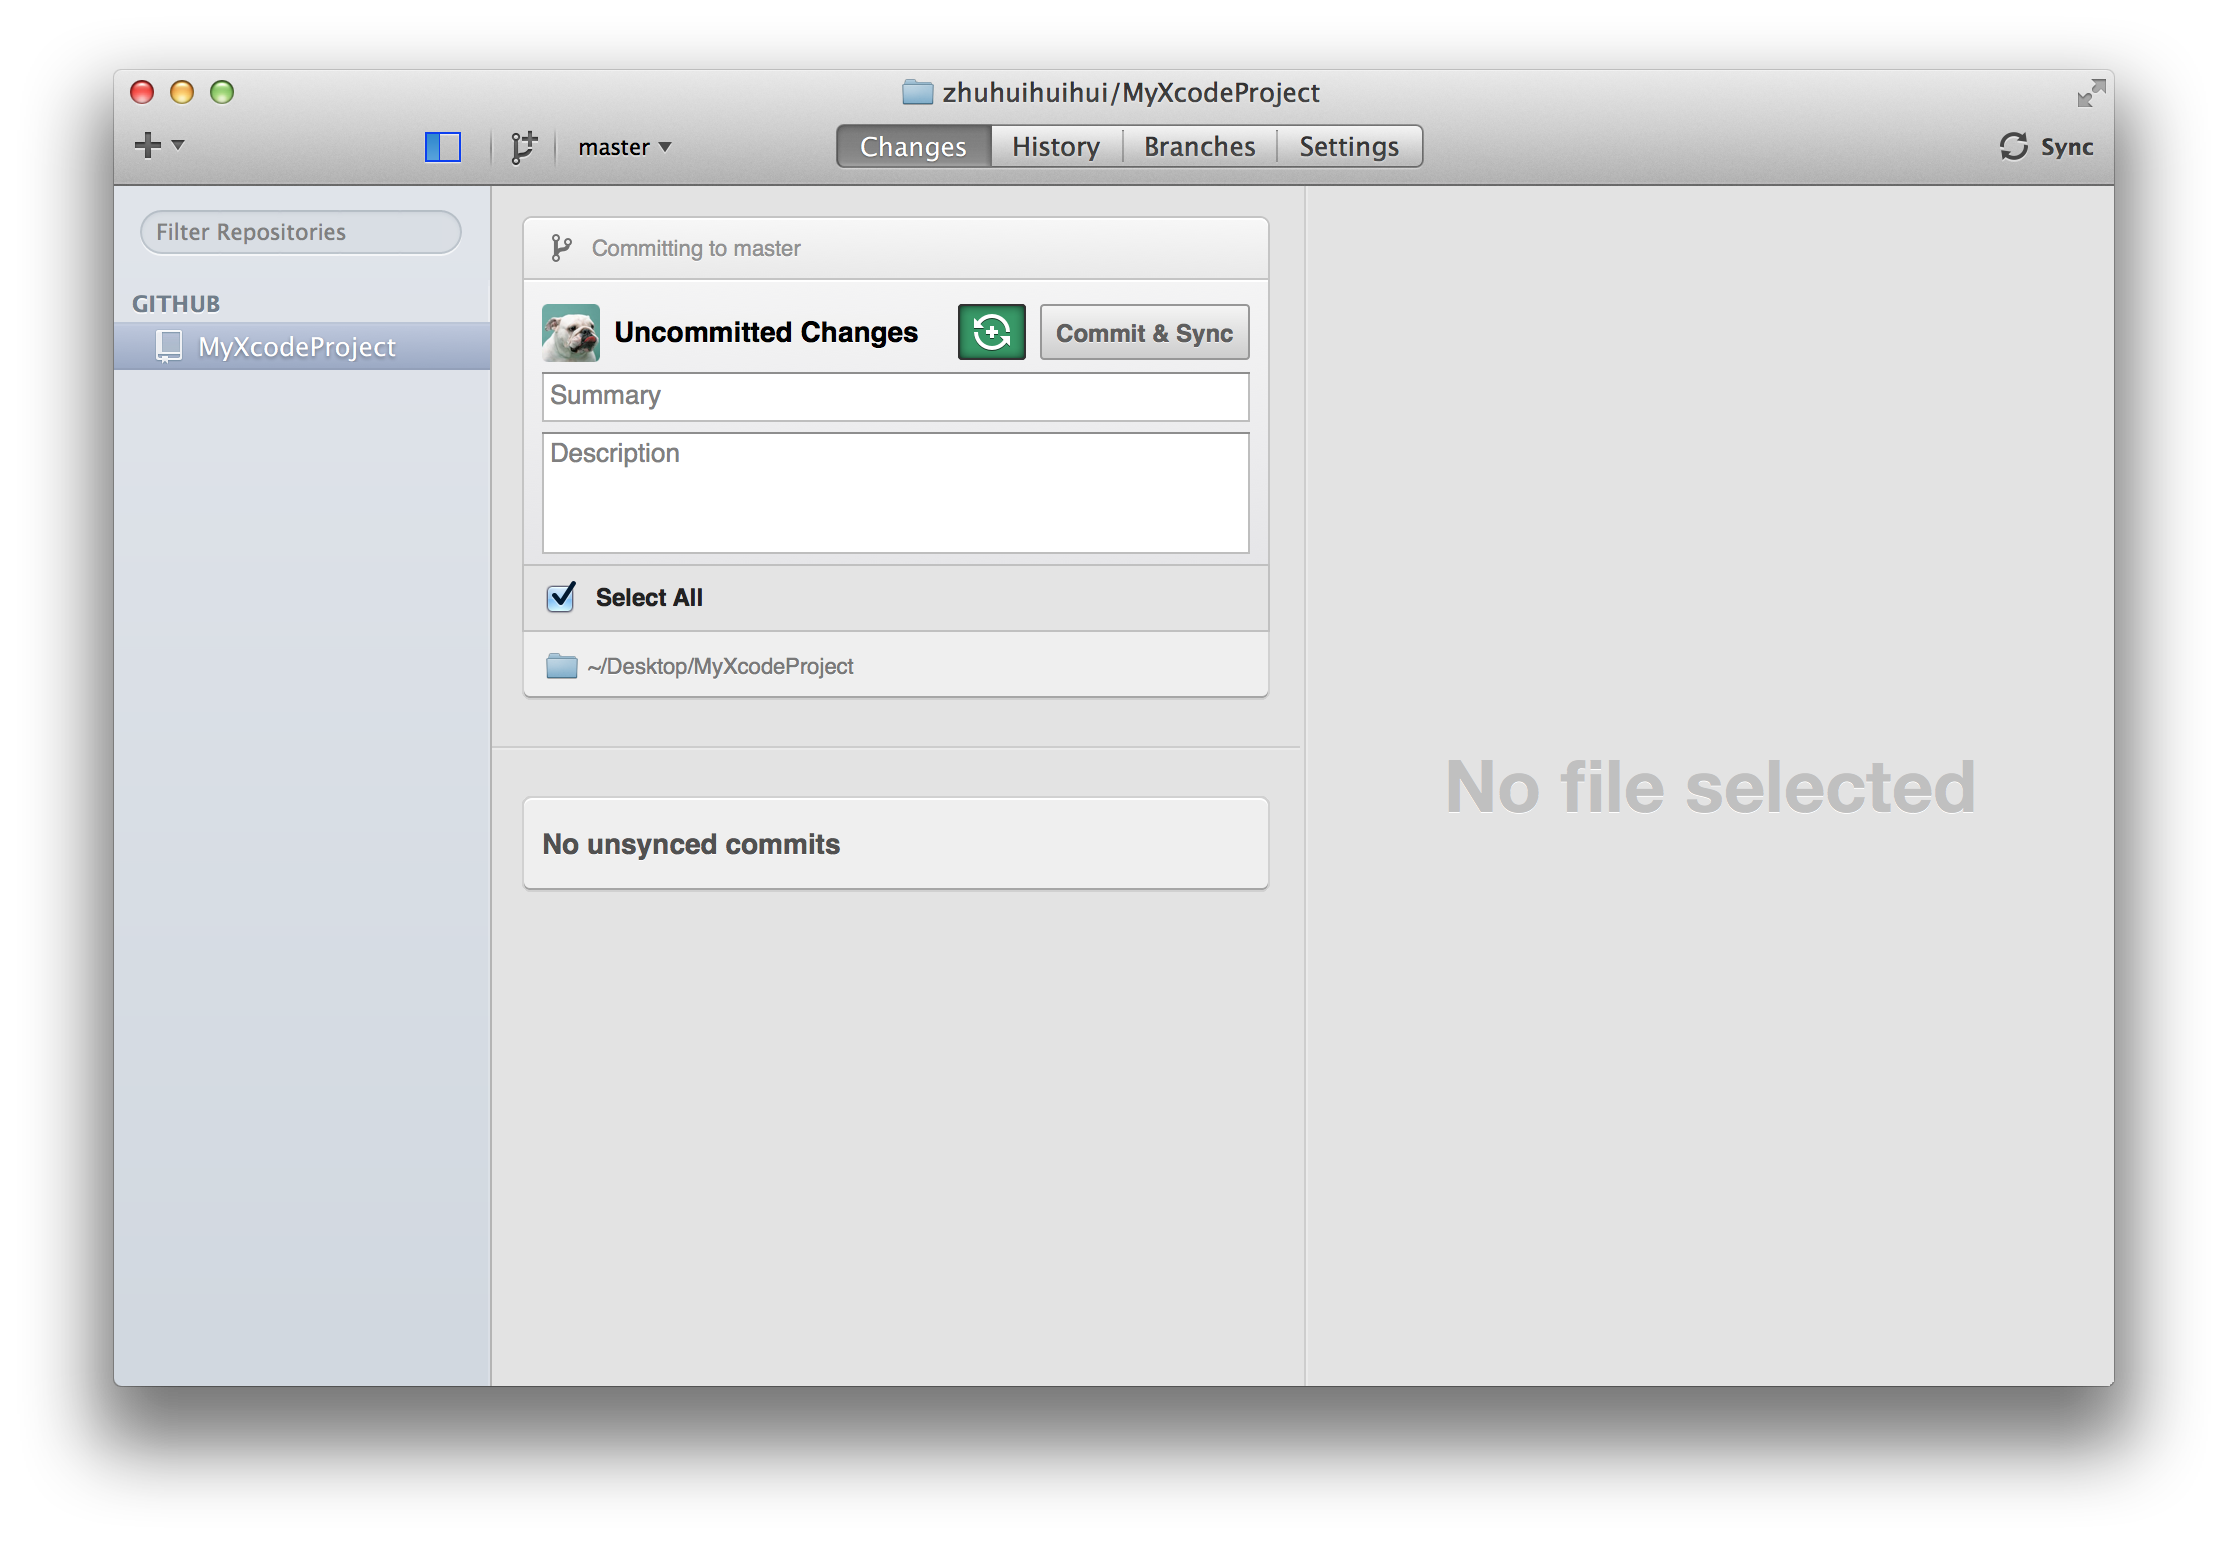
At this stage, you should have an almost empty folder that you just cloned from the Github server.
![]()
Also, you need to have your own project that you want to push onto github. It could be any projects, either a new project or a old project that you’ve been developed for years.
I just created a new project called MyXcodeProjectDemo, and i want it managed by Github under source control.
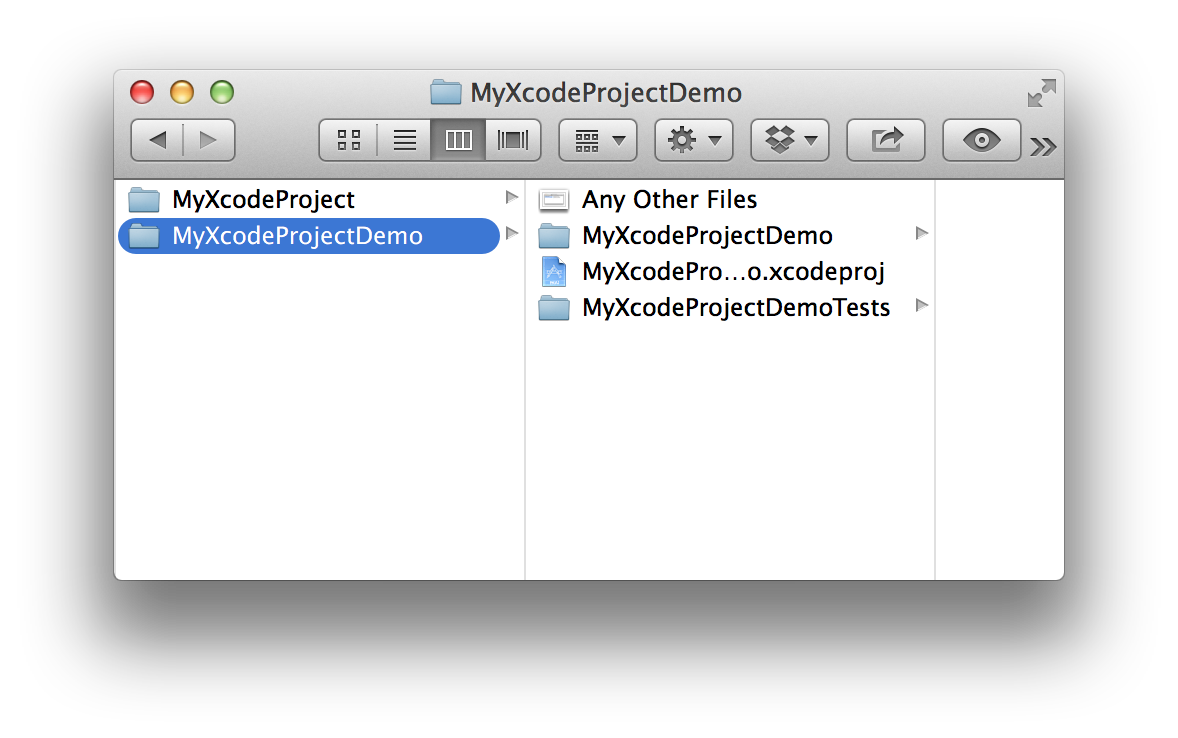
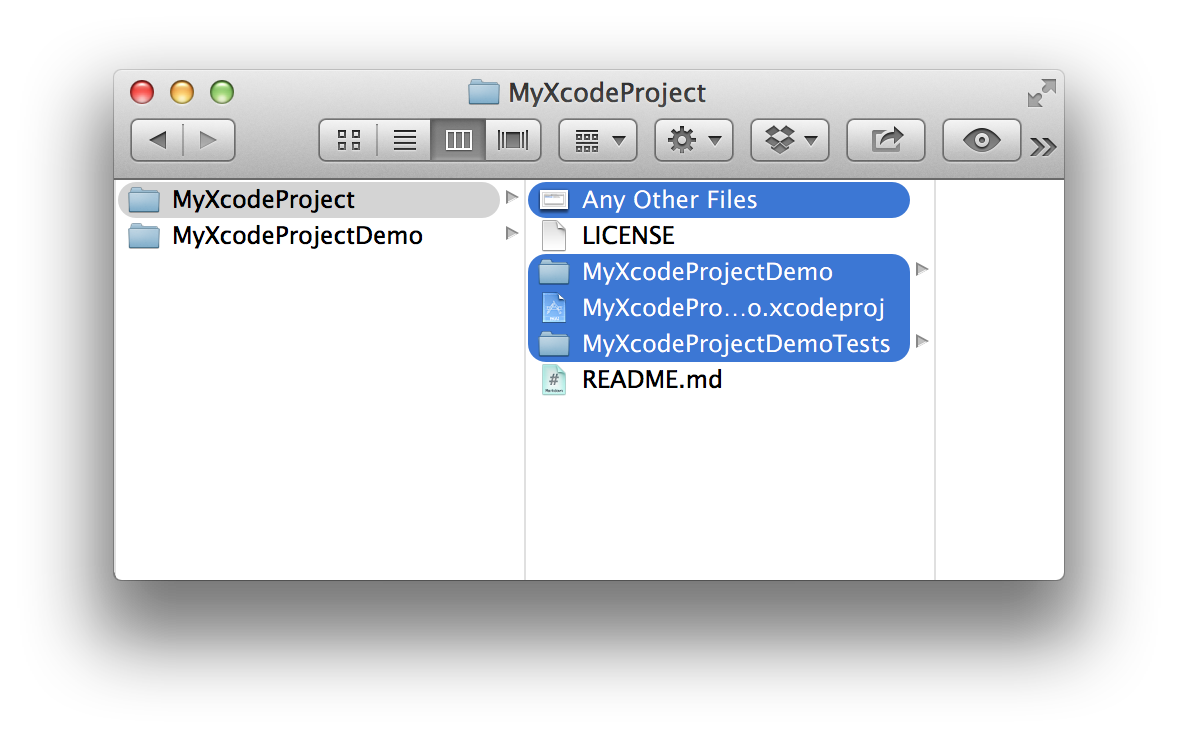
Now, move all files and folders under your MyXcodeProjectDemo project into the previous cloned folder, like this.
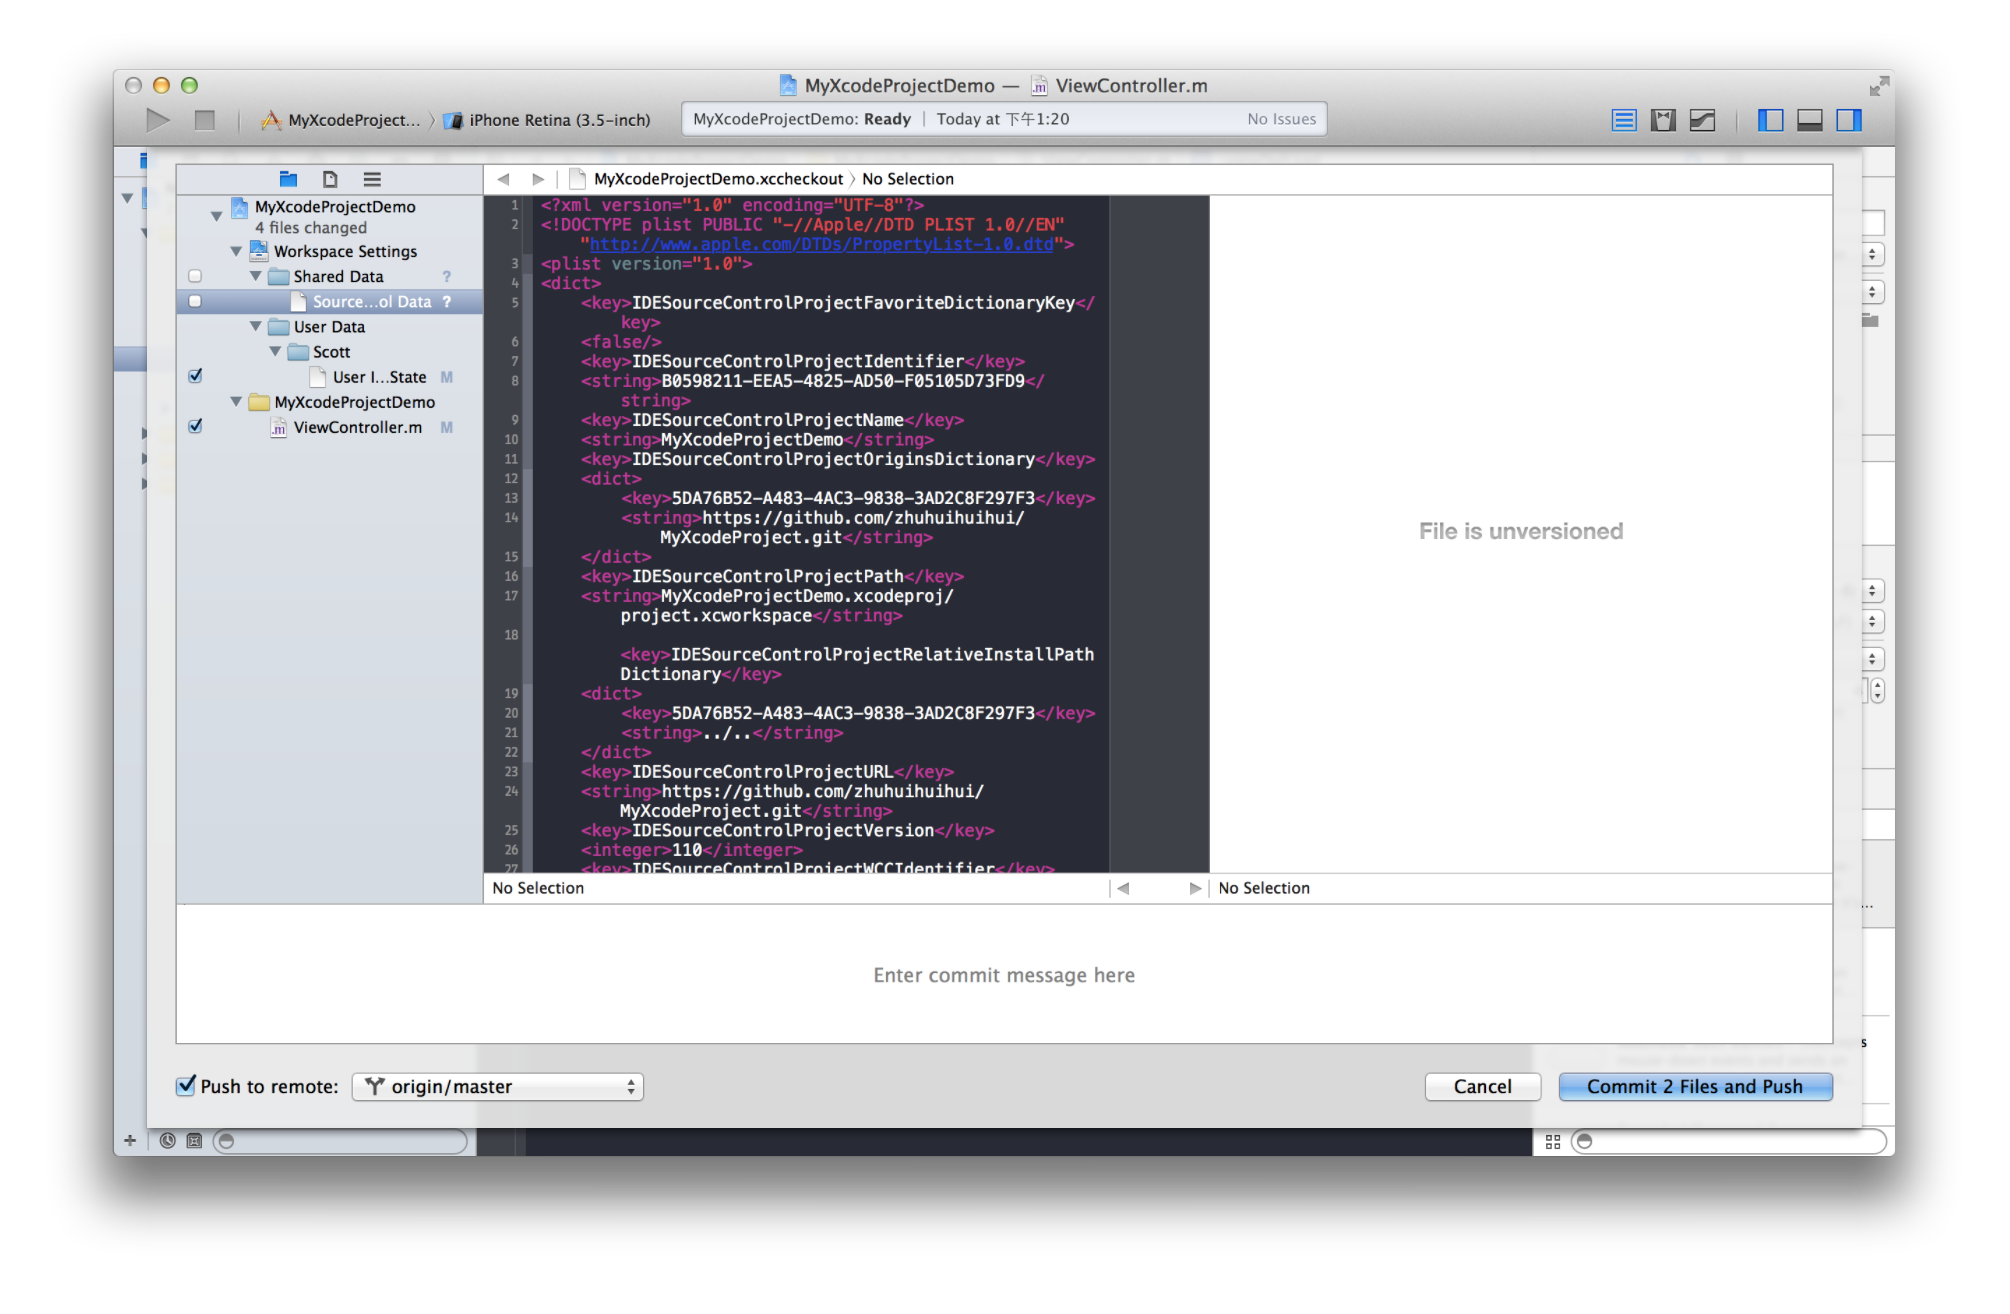
Step 4, In the Github for Mac client, commit all changes that you’ve just made.
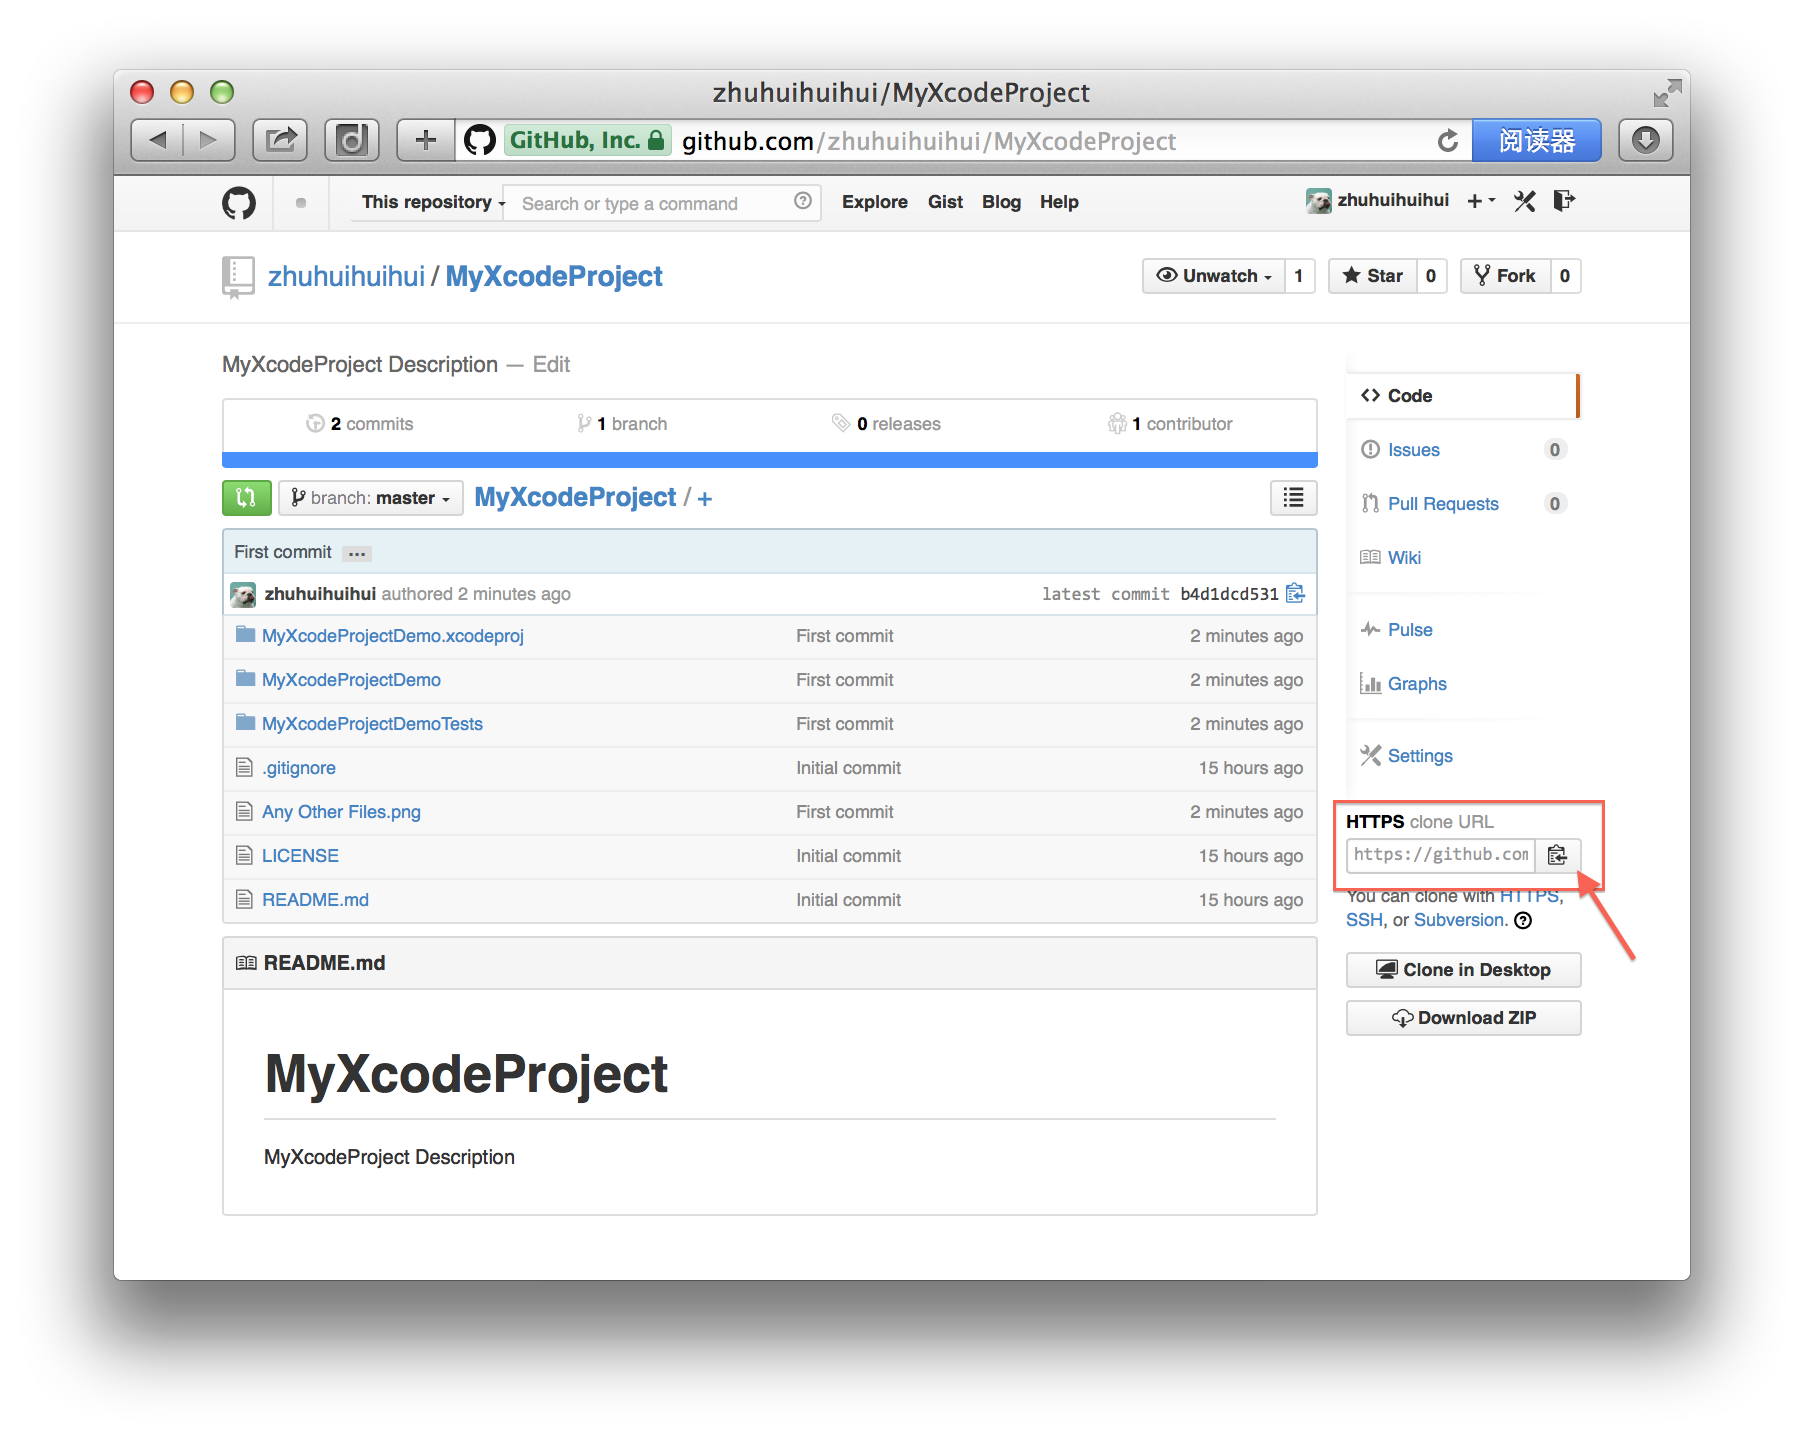
Open up you Github client for Mac, click on the MyXcodeProject tab on the very left side. You could see quit a lot changes here, Woooooo.
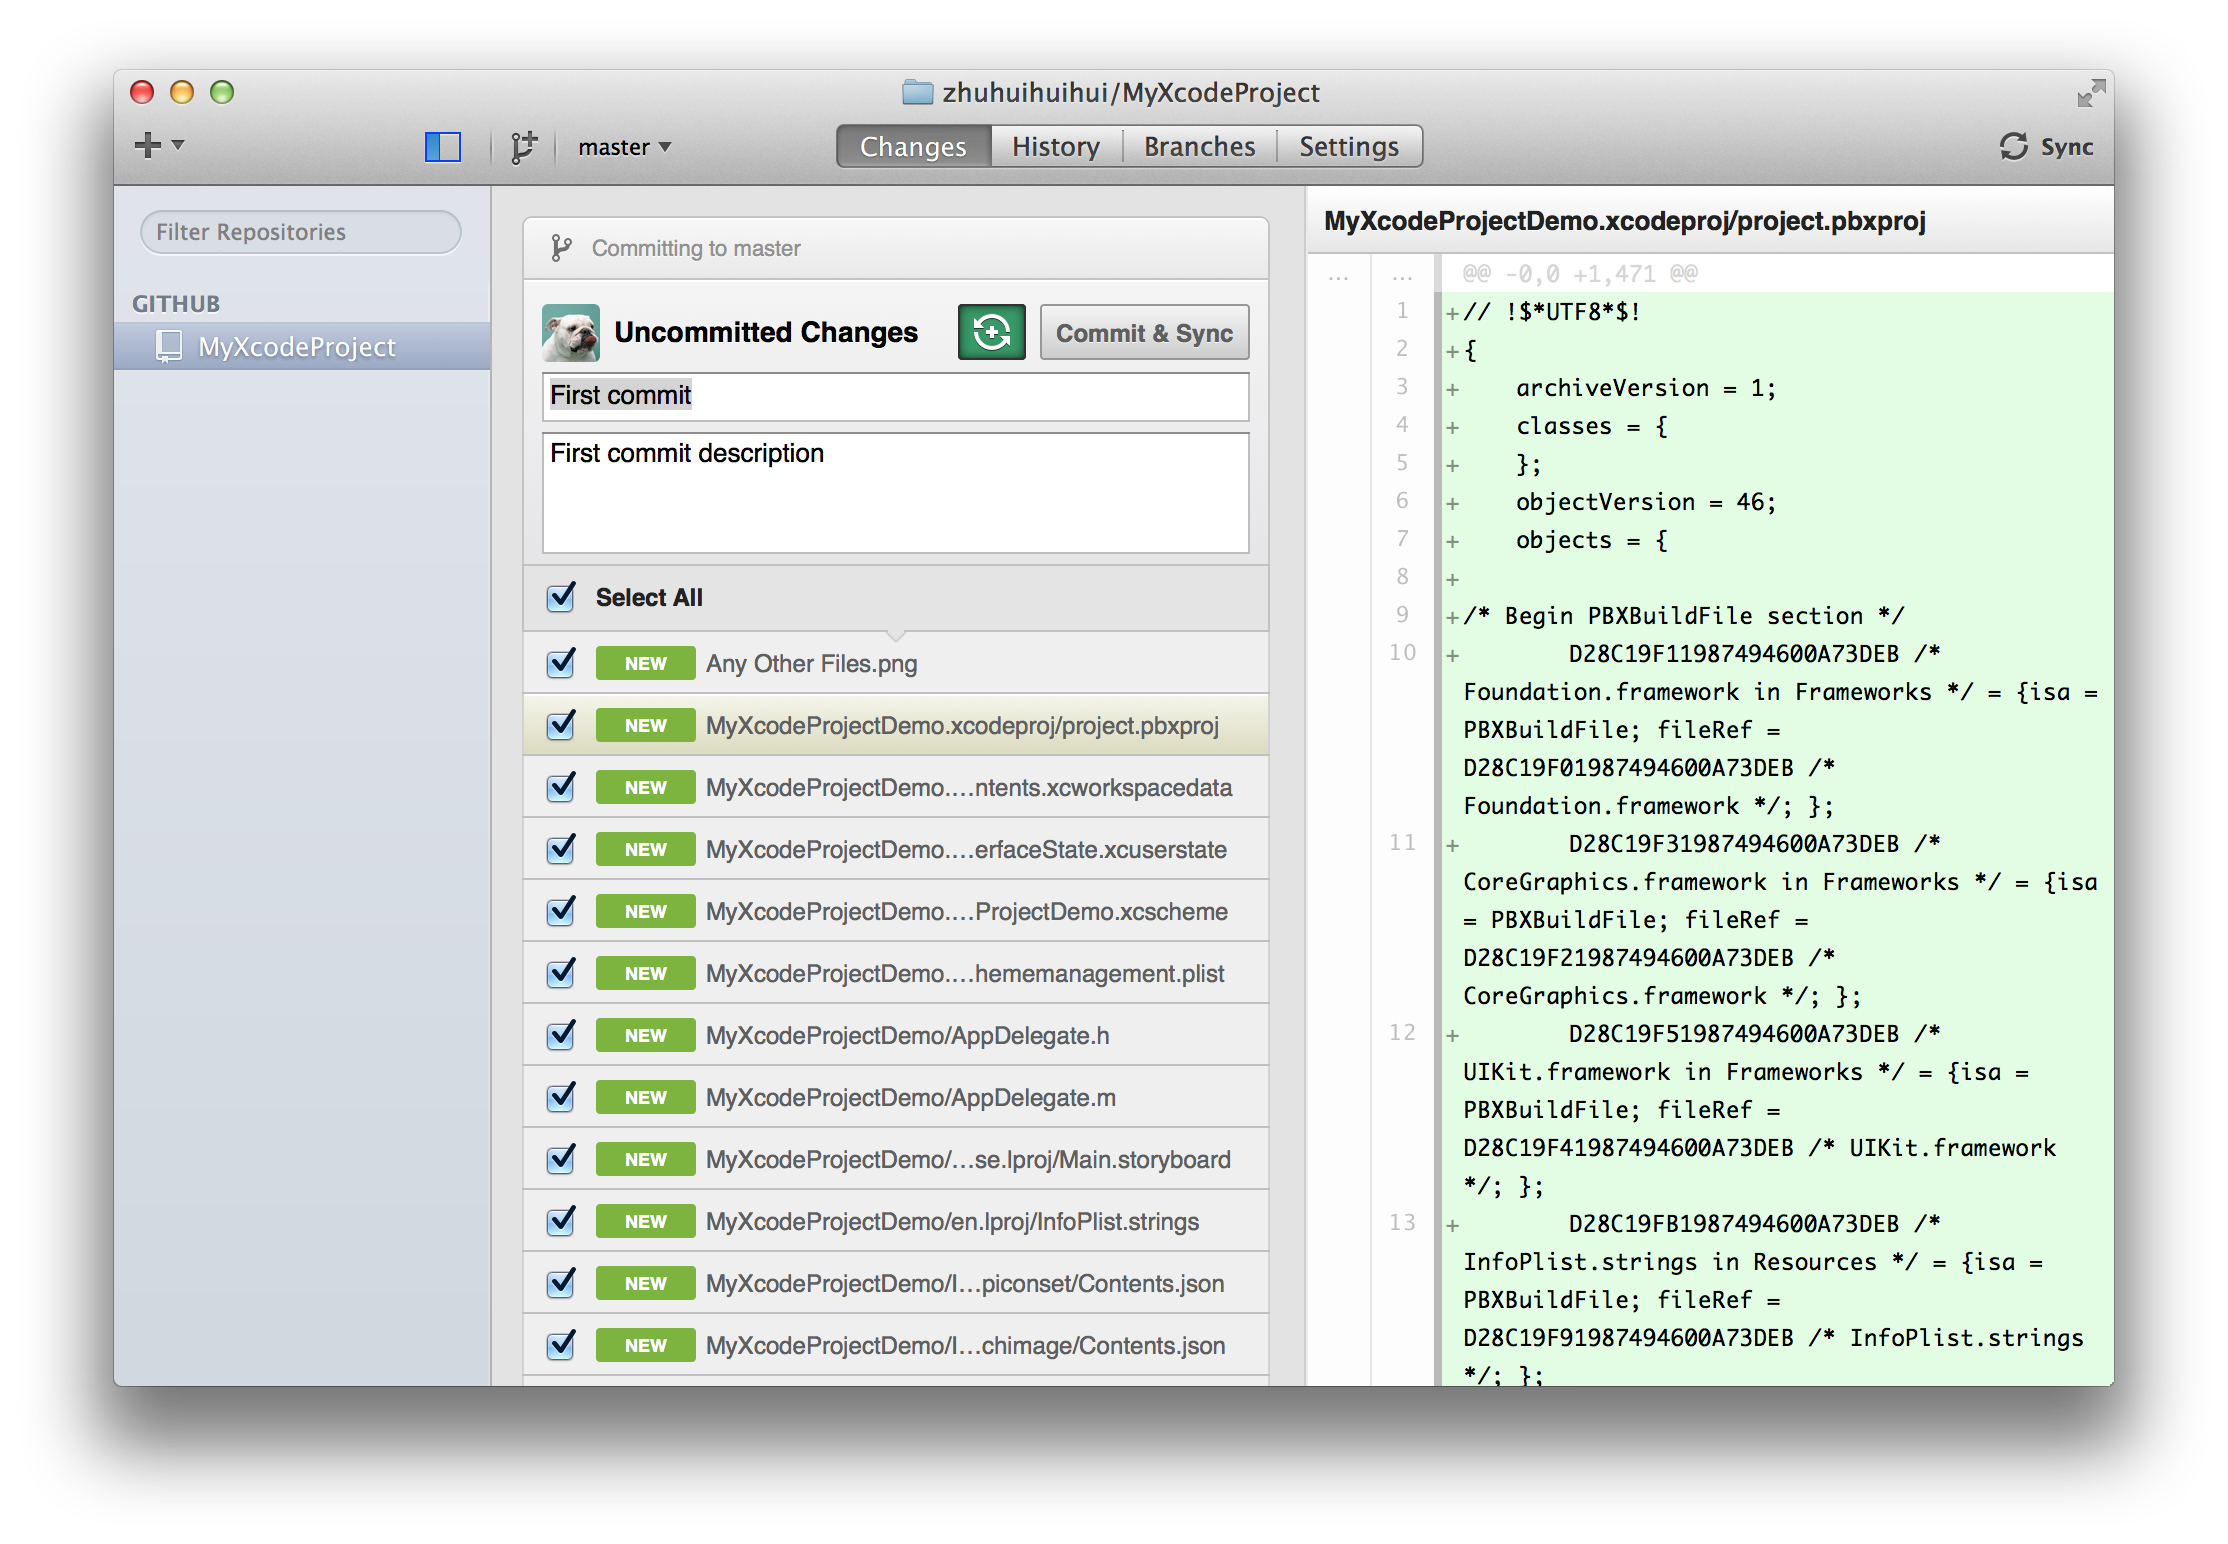
Press the Commit&Sync button. Once it’s be been successfully committed and synced, open Github page, find the corresponding repository page, you should see the whole project should have been uploaded. Before you go to the next step, please copy the link of your repo, you can do this by clicking the place where my arrow pointing to in the image.
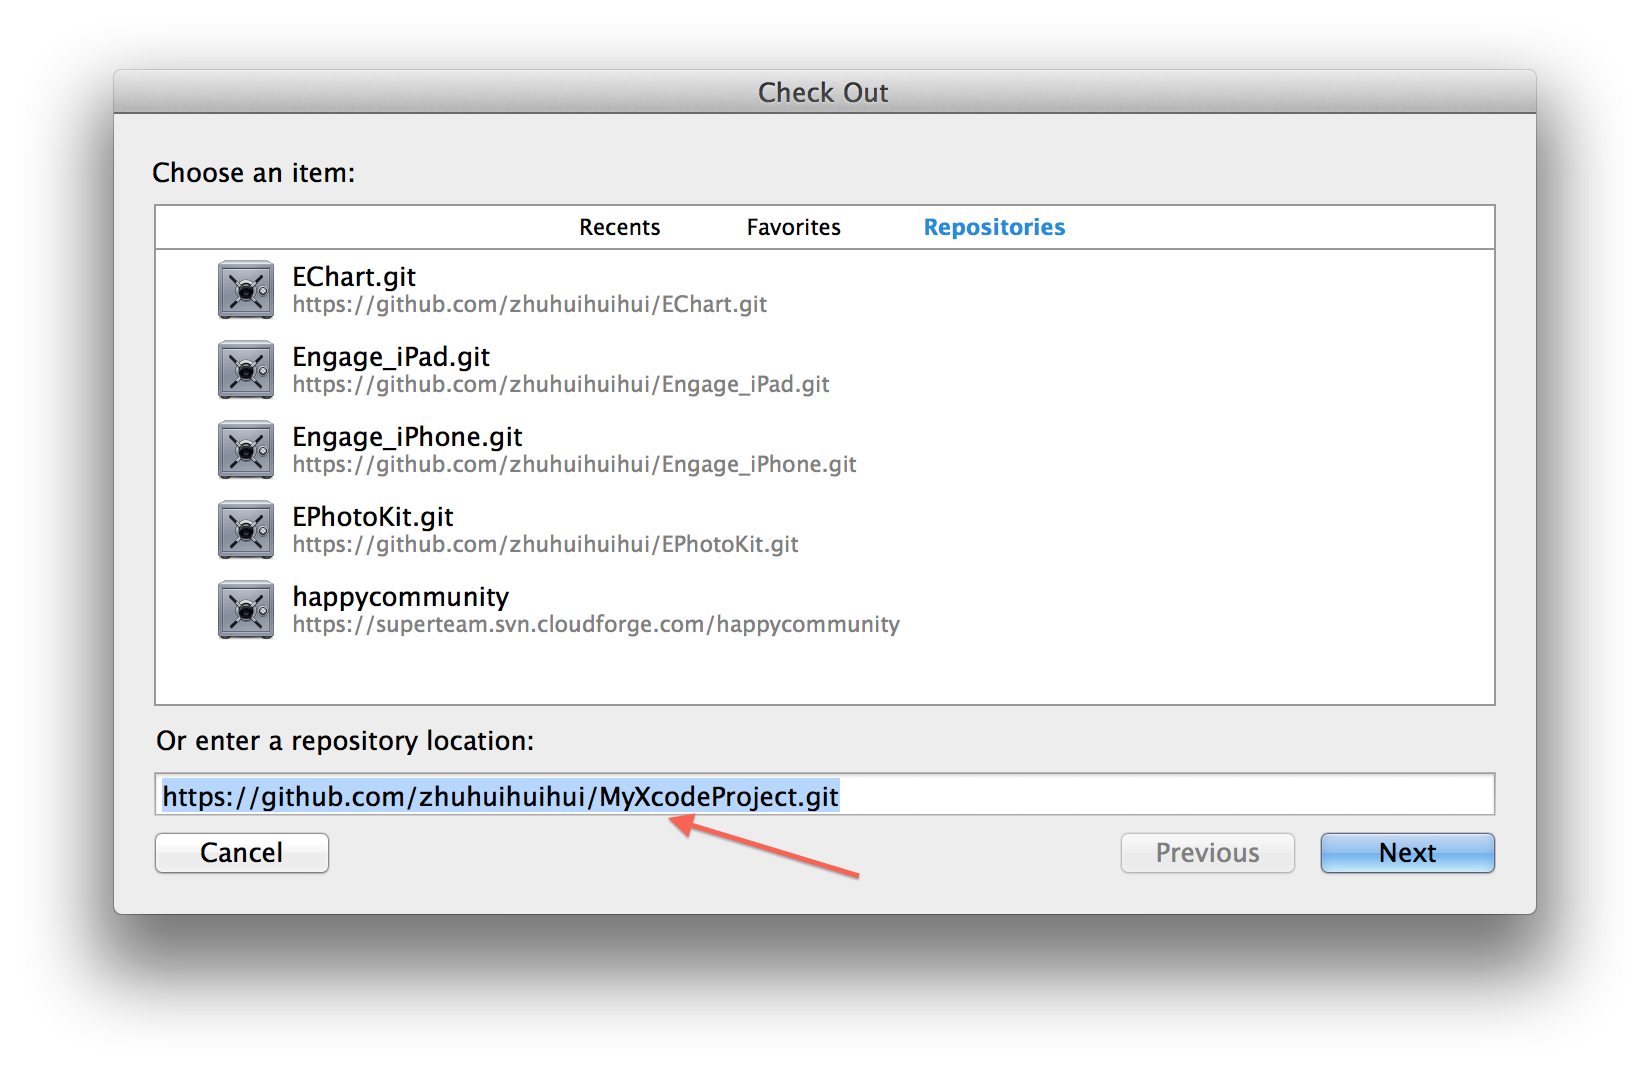
Step 5, Open Xcode, check out the project from your Github repo
Close Github client for Mac, delete all the files and folders you created before, including MyXcodeProject and MyXcodeProjectDemo. Yes, you don’t need them any more, it’s all being managed by Github already!
Open the Xcode application, select Check out an existing project.
In the next page, you’ll be able to select on a repo to check out, or in this case, you should paste the link of your repo into the textfield.
Select a proper location that you’d like to put your project for long term.
Once it’s finished, you’ll have the project ready for you to develop with source control by Github enabled. Try to make your first modification on the source code, then commit&push it to Github – in Xcode select Source Control -> commit or press shift + command + C, and make sure you’ve checked the push to remote in the following window .